

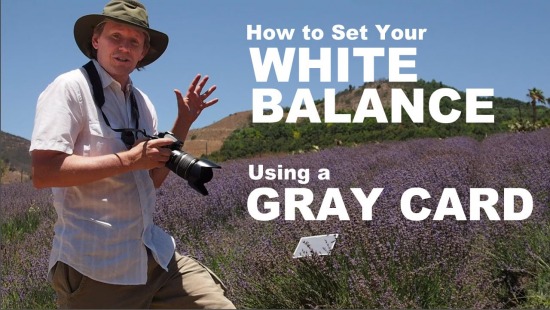
Learn two ways to automatically set a custom white balance on your camera with a gray card.

In this video series you will learn about shooting modes and the adjustments that you can make in the different modes. Full Auto, Program Mode, Shutter Priority, Aperture Priority, Manual Mode. You will learn about image size and quality, how to adjust ISO, WB, and how to read the histogram.
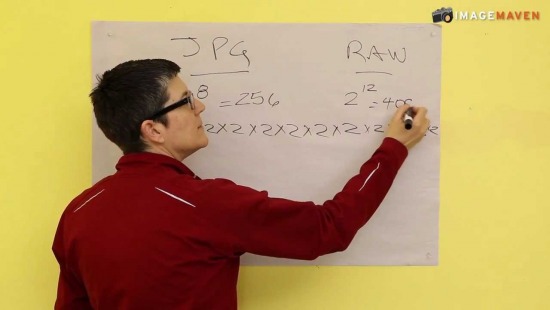
dSLR cameras (and many compact digital cameras now on the market) allow you to choose either RAW or JPG format when capturing images. Jpg image files are 8 bit. As such they have 256 levels of brightness per rgb channel. Camera raw files on the other hand are 12 bit and have 4096 levels of brightness per channel.The bonuses to shooting raw files are:- exposure insurance - you can correct a file that is over or underexposed without loosing image quality- perfect white balance - you can get perfec ......
Find out when it's best to switch your lens to manual focus, and how to get a sharp shot every time.
In this video you'll learn how to move the square focal points around by setting the camera to single servo AFS
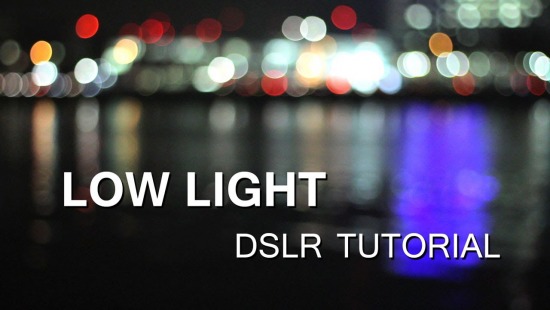
Low Light (at night) & how to reduce noise!
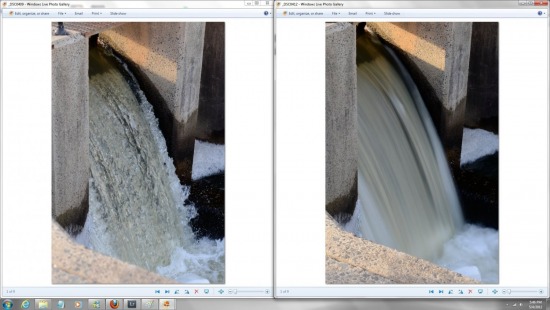
A detailed tutorial of different Shutter Speeds with sample pictures.

How to set a custom white balance using a grey card with your DSLR.
* The higher the ISO the more sensitive the sensor is going to be to light. * The lower the ISO the less sensitive the sensor is going to be to light. You use low ISO when shooting in daylight or with studio light. You use high ISO when there is not a lot of light available. The drawback of high ISO is graininess/noise in picture.

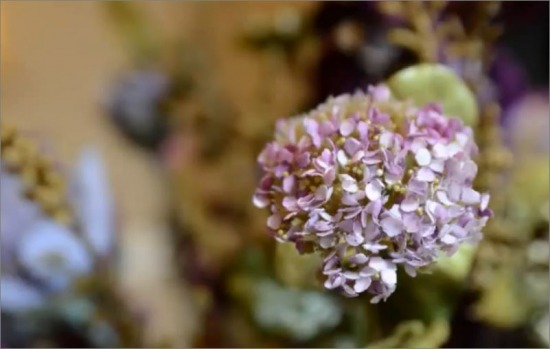
Photography Tutorial & Tips - A detailed Photography Tutorial on "Aperture" with picture samples. This lesson is very basic and important for beginners. Important Notes:f/2 = bigger aperture (more light coming in) Perfect for blown up backgroundf/12 = smaller aperture (less light coming in) Suitable for big groups or landscape photography where you want everything to be sharp.

Loading more pages